3. SDK Architecture
This chapter gives an overview on how the SDK has been composed and where to find the tools on the virtual machine.
3.1. SDK
The SDK provided by Architech to support Hachiko is composed by several components, the most important of which are:
- Yocto, and
- Eclipse
Regarding the installation and configuration of these tools, you have many options:
- get a virtual machine with everything already setup,
- download a script to setup your Ubuntu machine, or
- just get the meta-layer and compose your SDK by hand
The method you choose depends on your level of expertise and the results you want to achieve.
If you are new to Yocto and/or Linux, or simply you don’t want to read tons of documentation right now, we suggest you to download and install the virtual machine because it is the simplest solution (have a look at VM content), everything inside the virtual machine has been thought to work out of the box, plus you will get support.
If performances are your greatest concerns, consider reading Chapter Create SDK.
3.2. Virtual Machine
The development environment is provided as a virtual disk (to be used by a VirtualBox virtual machine) which you can download from this page:
Important
Compute the MD5SUM value of the zip file you downloaded and compare it to the golden one you find in the download page.
Uncompress the file, and you will get a .vdi file that is our virtual disk image. The environment contains the SDK for all the boards provided by Architech, Hachiko included.
3.2.1. Download VirtualBox
For being able to use it, you first need to install VirtualBox (version 4.2.10 or higher). You can get VirtualBox installer from here:
https://www.virtualbox.org/wiki/Downloads
Download the version that suits your host operating system. You need to download and install the Extension Pack as well.
Important
Make sure that the extension pack has the same version of VirtualBox.
Install the software with all the default options.
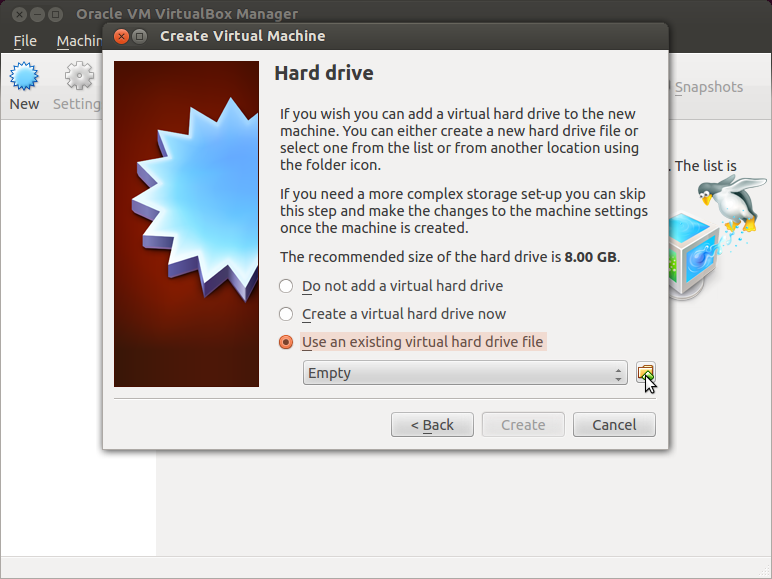
3.2.2. Create a new Virtual Machine
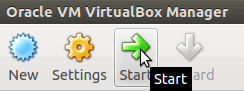
- Run VirtualBox
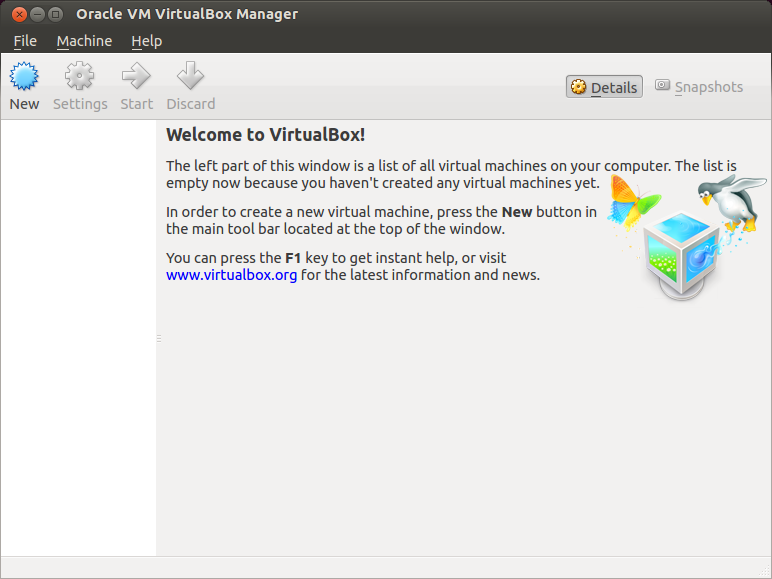
- Click on New button

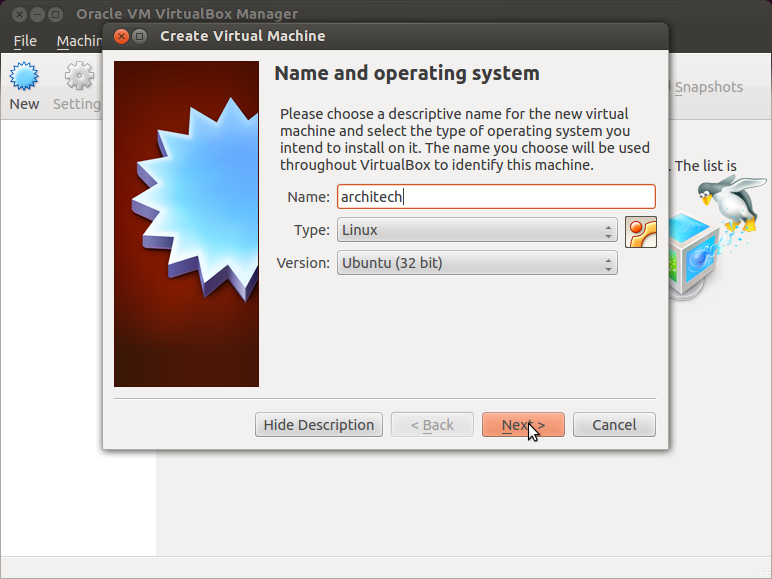
- Select the name of the virtual machine and the operating system type
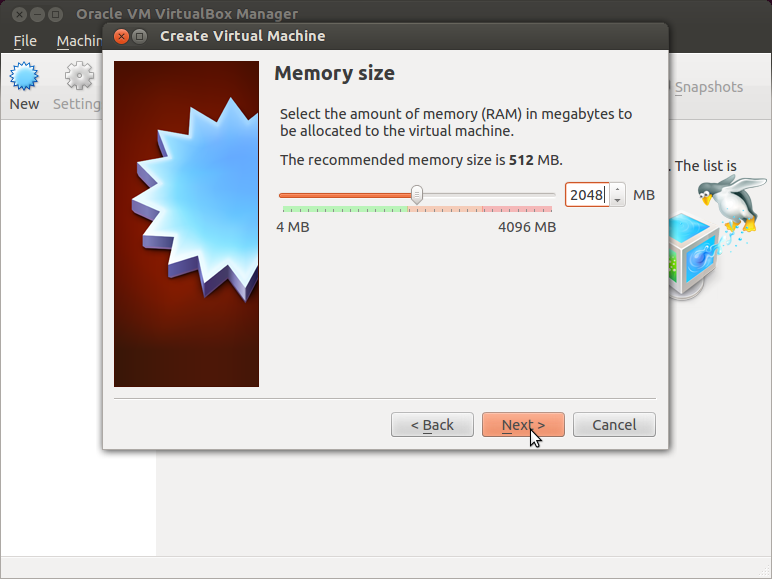
- Select the amount of memory you want to give to your new virtual machine
- Make the virtual machine use Architech’s virtual disk by pointing to the downloaded file. Than click on Create.
3.2.3. Setup the network
We need to setup a port forwarding rule to let you (later) use the virtual machine as a local repository of packages.
Note
The virtual machine must be off
- Select Architech’s virtual machine from the list of virtual machines
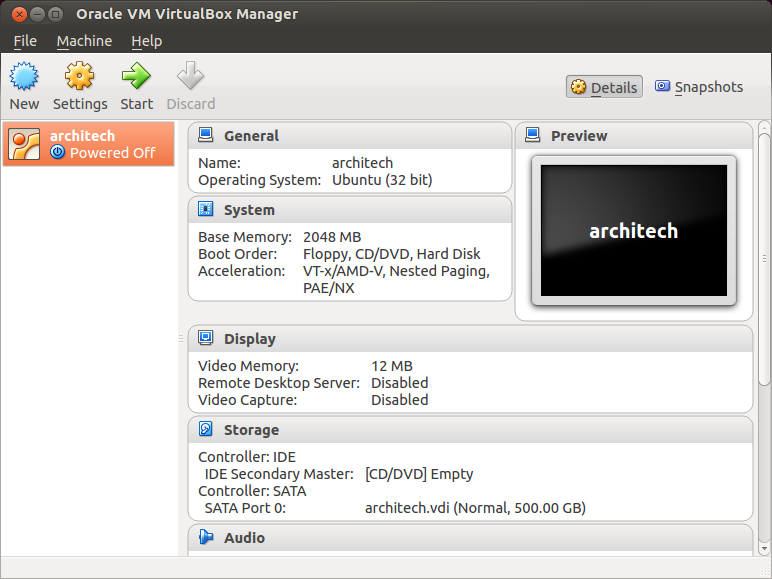
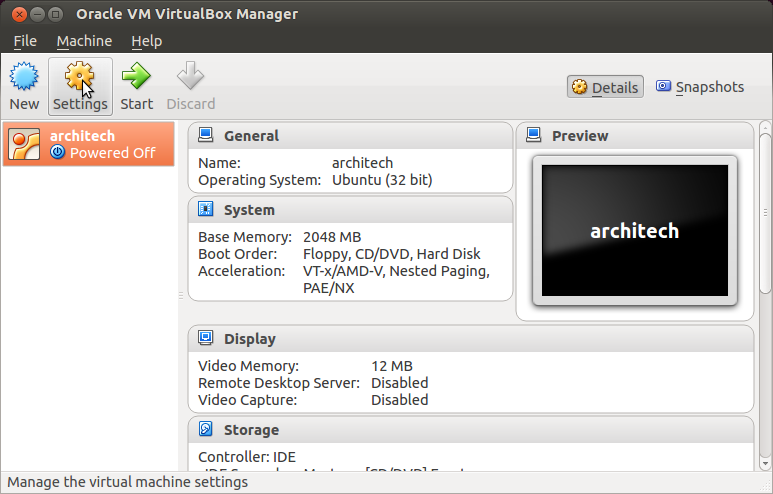
- Click on Settings
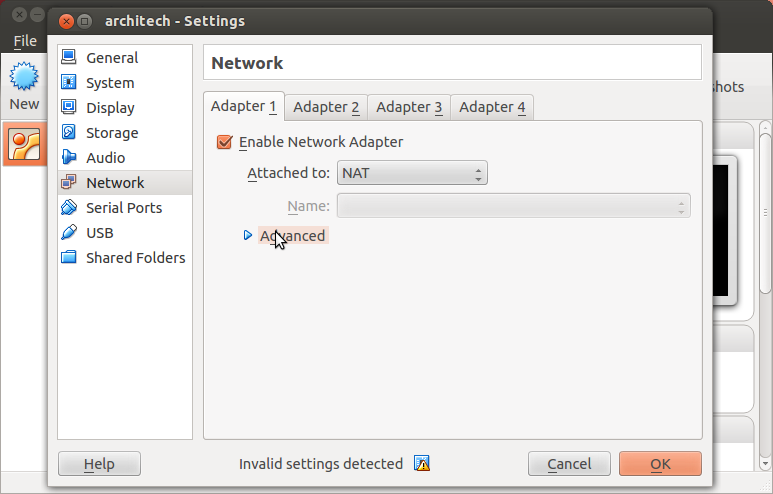
- Select Network
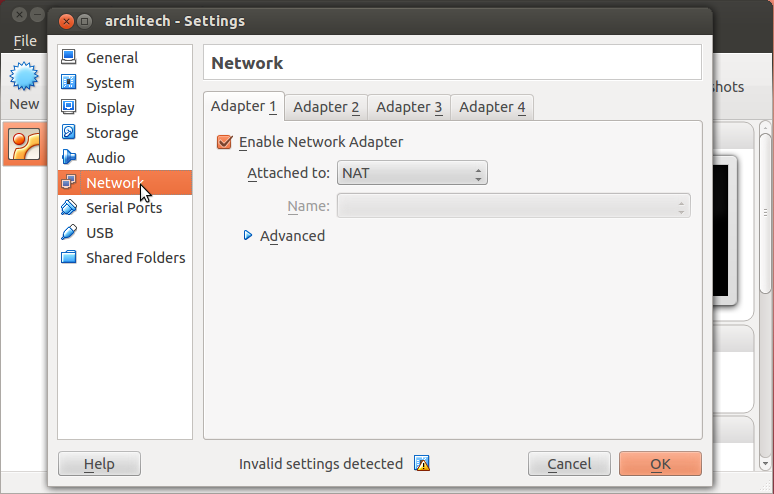
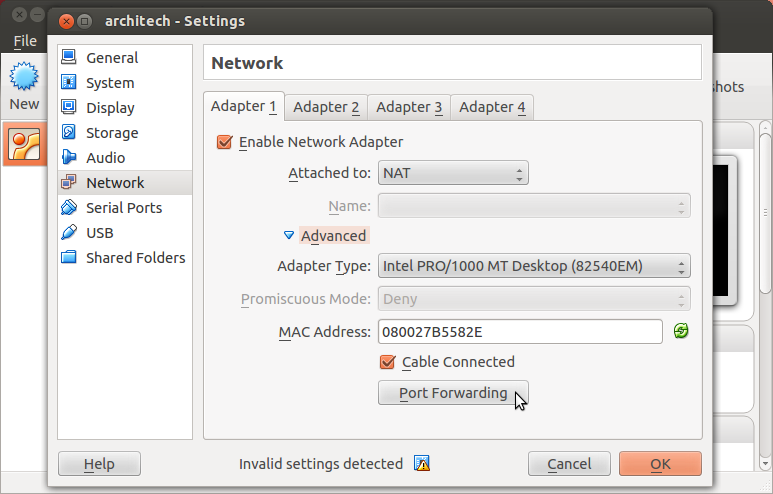
- Expand Advanced of Adapter 1
- Click on Port Forwarding
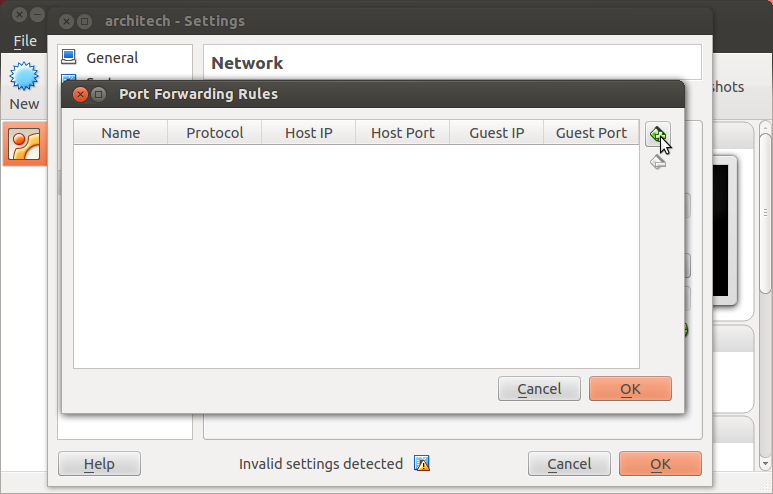
- Add a new rule
- Configure the rule
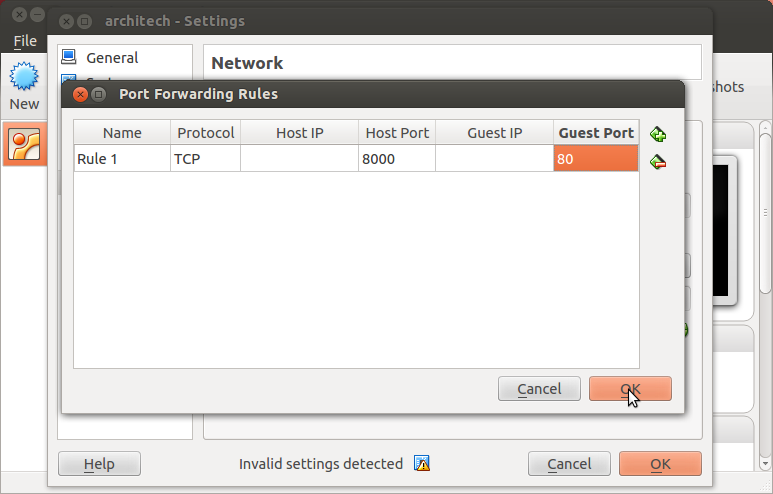
- Click on Ok
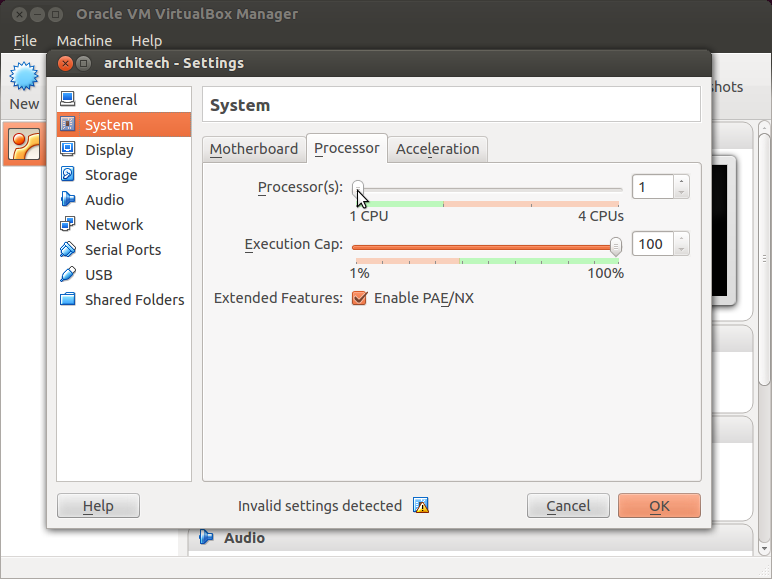
3.2.4. Customize the number of processors
Building an entire system from the ground up is a business that can take up to several hours. To improve the performances of the overall build process, you can, if your computer has enough resources, assign more than one processor to the virtual machine.
Note
The virtual machine must be off
- Select Architech’s virtual machine from the list of virtual machines
- Click on Settings
- Select System
- Select Processor
- Assign the number of processors you wish to assign to the virtual machine
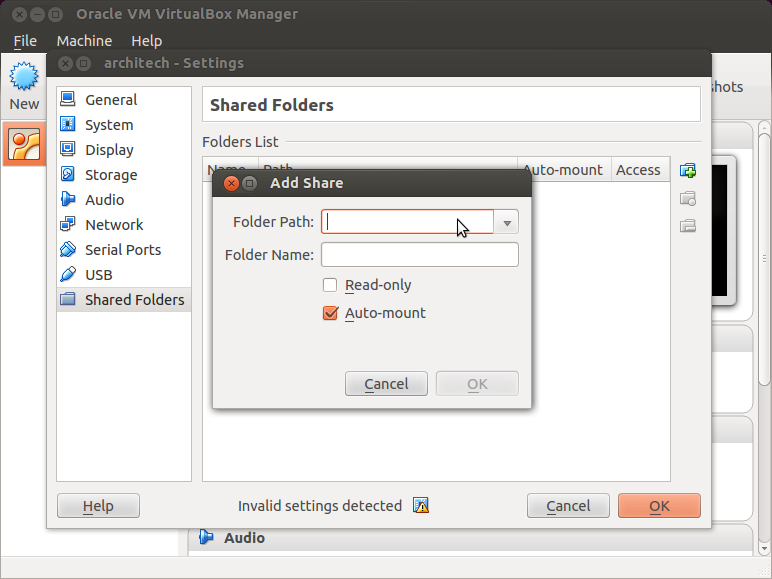
3.2.5. Create a shared folder
A shared folder is way for host and guest operating systems to exchange files by means of the file system. You need to choose a directory on your host operating system to share with the guest operating system.
Note
The virtual machine must be off
- Select Architech’s virtual machine from the list of virtual machines
- Click on Settings
- Select Shared Folders
- Add a new shared folder

- Choose a directory to share on your host machine. Make sure Auto-mount is selected.
Once the virtual machine has been booted, the shared folder will be mounted under /media/ directory inside the virtual machine.
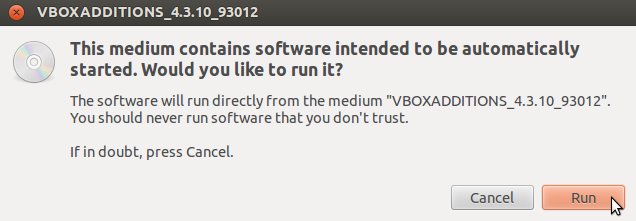
3.2.6. Install VBox Additions
The VBox addictions add functionalities to the virtual machine such as better graphic driver and more. It is already installed in the SDK but is important re-install it to configuring correctly the virtual machine with your operating system.
- Starts the virtual machine
2. Click on the virtual box menu to the voice Devices and select Insert Guest Additions CD Images.... A message box will appear at the start of the installation, click on run button
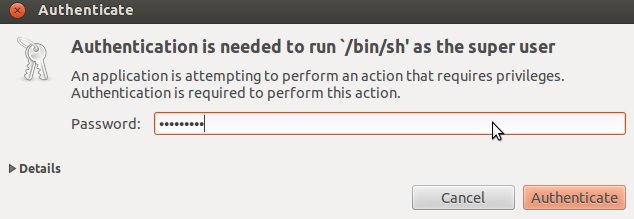
- To proceed are required admin privileges, so insert the password architech when asked
- Then a terminal will show the installation progress. When finished, press Enter key
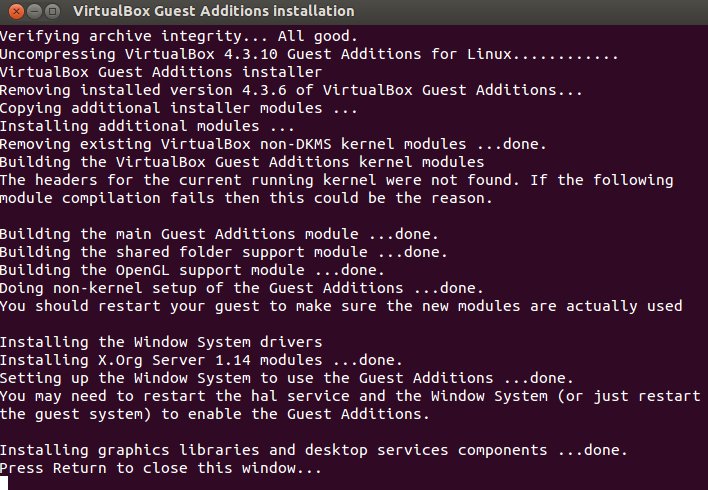
- Before to use the SDK, it is required reboot the virtual machine
3.3. VM content
The virtual machine provided by Architech contains:
- A splash screen, used to easily interact with the boards tools
- Yocto/OpenEmbedded toolchain to build BSPs and file systems
- A cross-toolchain (derived from Yocto/OpenEmbedded) for all the boards
- Eclipse, installed and configured
- Qt creator, installed and configured
All the aforementioned tools are installed under directory /home/architech/architech_sdk, its sub-directories main layout is the following:
architech_sdk
    |
    |_ splashscreen
    |
    |_ spashscreen-interface
    |
    |_ architech-manifest
    |
    |_ architech
        |
        |_ ...
        |
        |_ hachiko-tiny
            |
            |_ eclipse
            |
            |_ java
            |
            |_ qtcreator
            |
            |_ splashscreen
            |
            |_ sysroot
            |
            |_ toolchain
            |
            |_ workspace
            |   |
            |   |_ eclipse
            |   |
            |   |_ qt
            |
            |_ yocto
                |
                |_ build
                |
                |_ poky
                |
                |_ meta-hachiko
                |
                |_ ...
hachiko-tiny directory contains all the tools composing the ArchiTech SDK for Hachiko board, along with all the information needed by the splash screen application. In particular:
- eclipse directory is where Eclipse IDE has been installed
- java directory is where the Java Virtual Machine has been installed (needed by Eclipse)
- qtcreator contains the installation of Qt Creator IDE
- splashscreen directory contains information and scripts used by the splash screen application,
- sysroot is supposed to contain the file system you want to compile against,
- toolchain is where the cross-toolchain has been installed installed
- workspace contains the the workspaces for Eclipse and Qt Creator IDEs
- yocto is where you find all the meta-layers Hachiko requires, along with Poky and the build directory
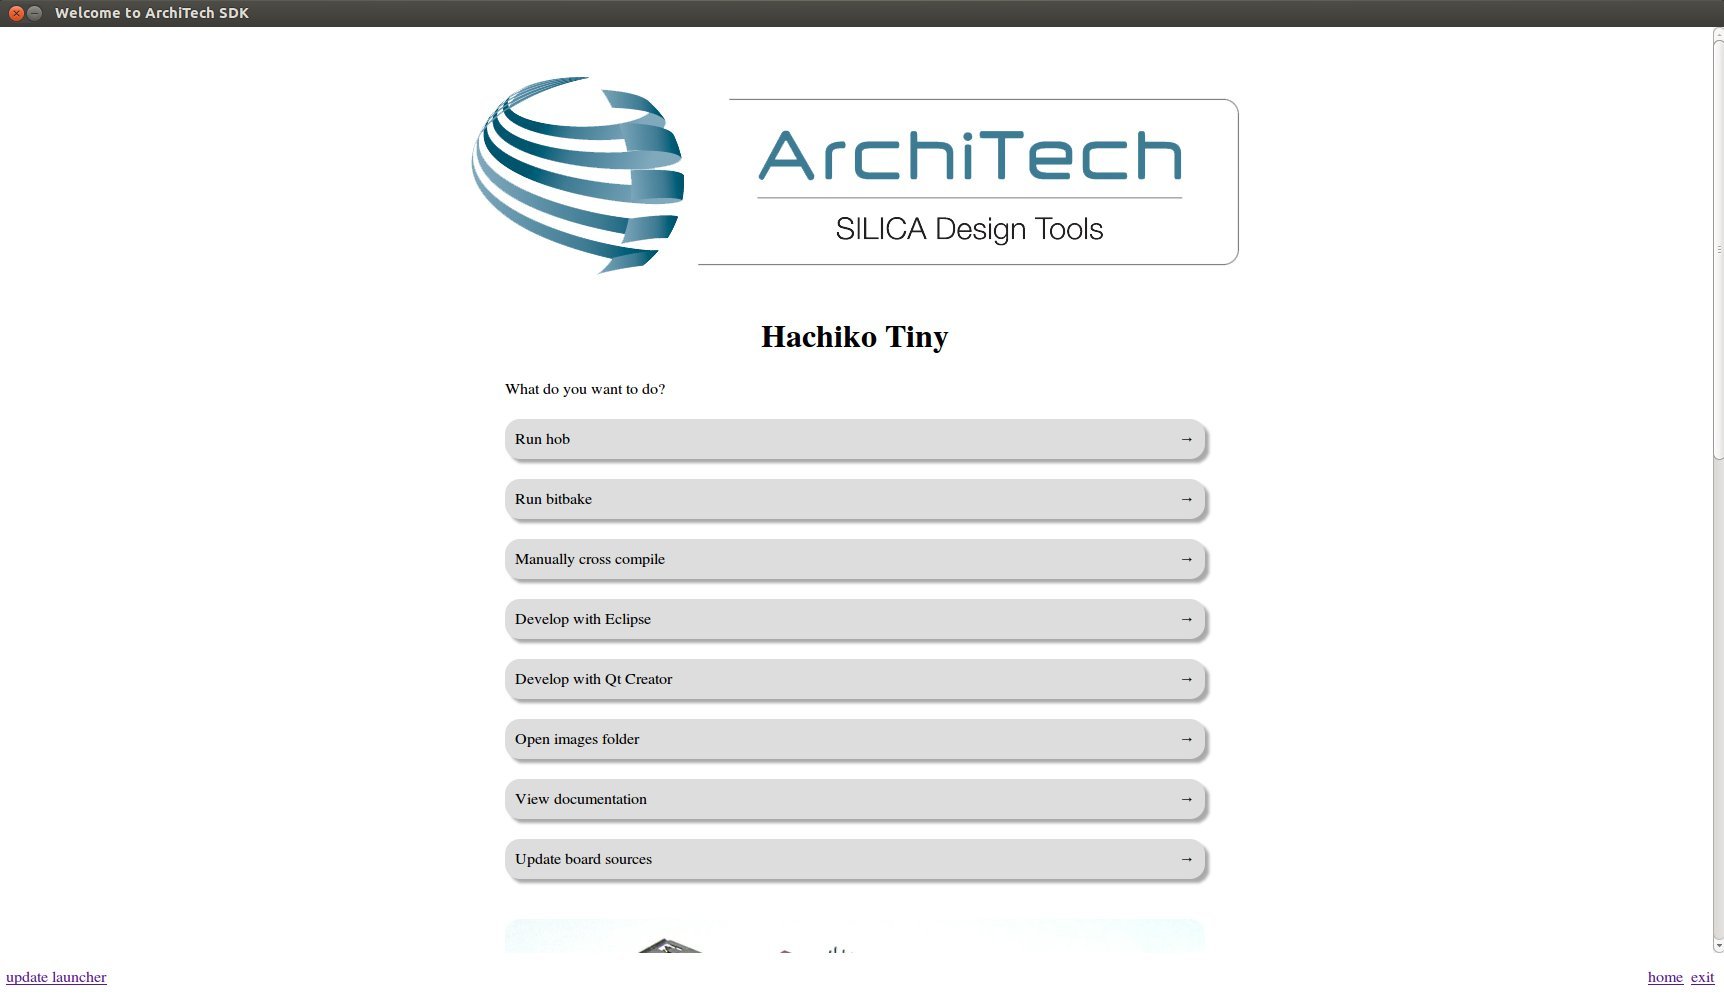
3.3.1. Splash screen
The splash screen application has been designed to facilitate the access to the boards tools. It can be opened by clicking on its Desktop icon.
Once started, you can can choose if you want to work with Architech’s boards or with partners’ ones. For Hachiko, choose ArchiTech.
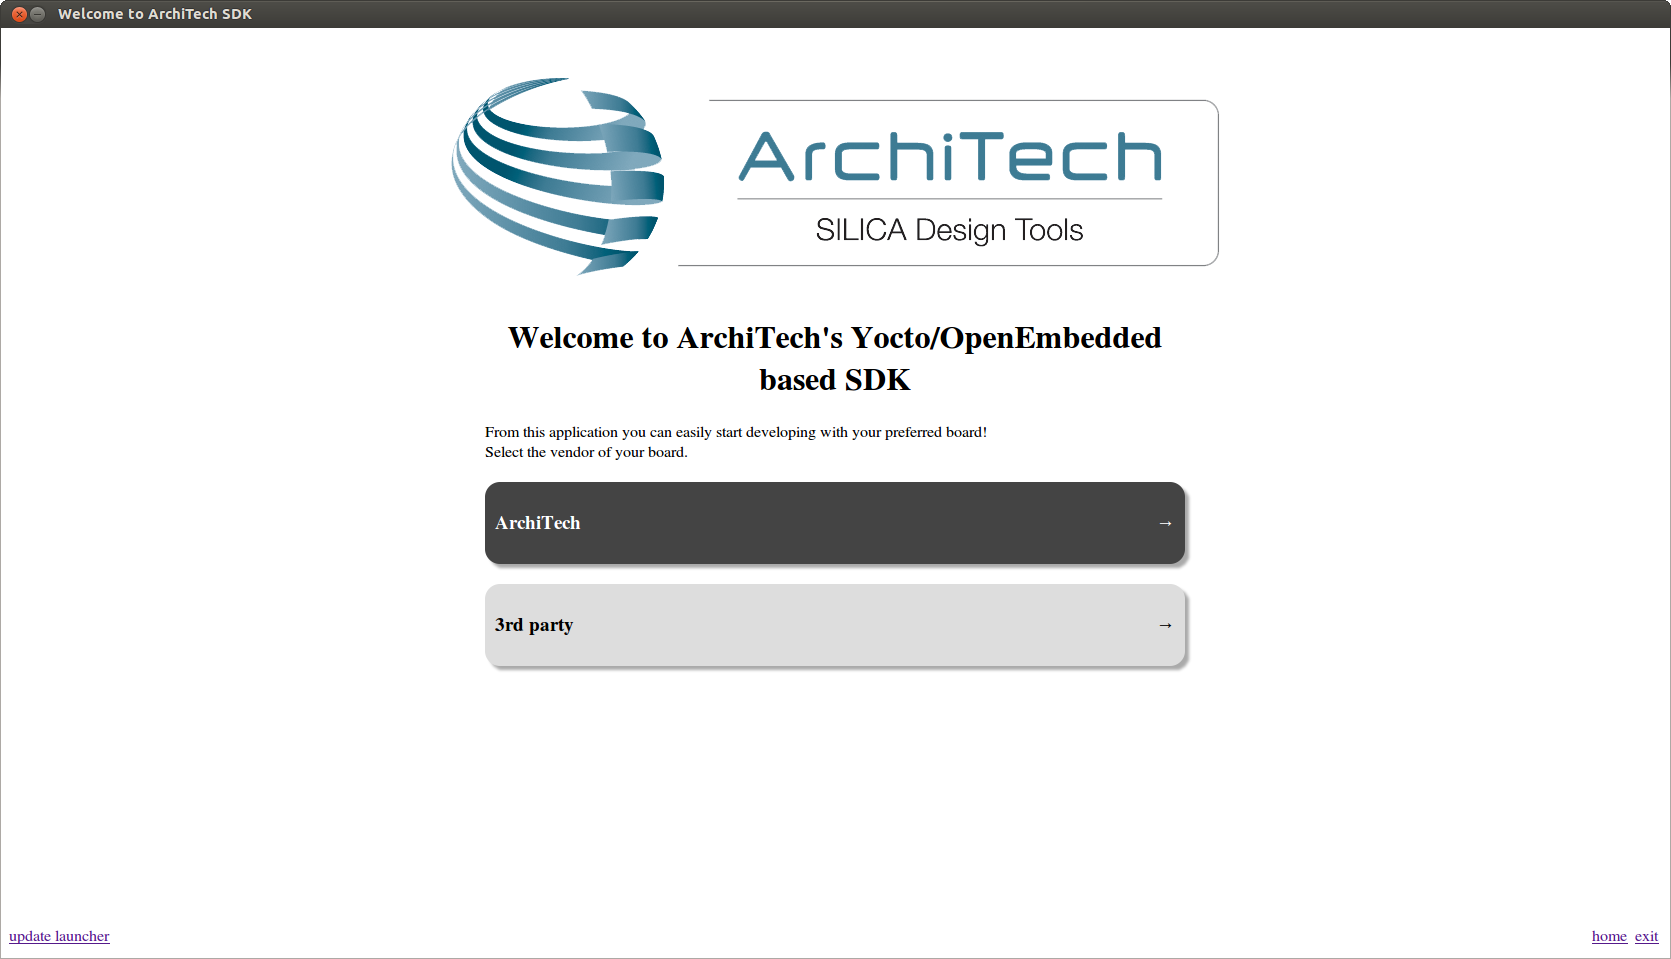
A list of all available Architech’s boards will open, select Hachiko.
A list of actions related to Hachiko that can be activated will appear.